How to Pay on OnlyFans: Add a Card, Fix Failures, Stay Safe (2026 Guide)
Want to subscribe on OnlyFans, but your card keeps getting declined at payment? Finally got the card added, only to see a string of characters you don't recognize on your statement? Or you're worried about card fraud? And once all that is sorted, a more practical problem appears: the content you paid for can simply disappear. OnlyFans payments and content retention look simple, but plenty of people hit snags.
This article walks through, in the order you actually need it: how to add a card on OnlyFans, how to troubleshoot payment failures, how to read your statement and stay safe, and the most important part—keeping the content you paid for truly yours.
OnlyFans Payment Methods: Cards Are the Core
Bottom line first: OnlyFans mainly accepts international credit/debit cards like Visa and Mastercard; PayPal, crypto, and wire transfers are not supported—cards are the only mainstream payment channel.
- Supported cards: Visa and Mastercard are the mainstays; American Express works in some countries and regions; both debit and credit cards work as long as the network supports international online payments.
- Not supported: PayPal (briefly supported early on, later removed), cryptocurrencies, wallet payments like Apple Pay / Google Pay, and bank transfers.
- Currency: billed in US dollars; your card needs enough USD balance (some cards auto-convert but charge a currency conversion fee).
Before adding a card, make sure it has international transactions and online payments enabled—many cards issued outside the US turn these two switches off by default, the most common cause of payment failures.
Full Steps to Add a Card
Adding a card on OnlyFans takes less than two minutes:
Step 1: Register and sign in
Complete email registration and 18+ age verification (upload an ID or verify with a card; it's a platform compliance requirement for everyone).
Step 2: Open payment settings
After signing in, click your avatar, go to settings, and find the "Payment Methods" entry.
Step 3: Add your card
Choose "Add Card" and enter the card number, expiry date, CVV, and billing address. The billing address must match the one your bank has on file—a mismatch causes verification to fail.
Step 4: Complete the small verification charge
Some cards trigger a small verification charge when added (usually around $0.01-$1), which is automatically refunded after verification. It's not an extra fee—it's the standard payment network verification flow.
Step 5: Subscribe and confirm the charge
Return to the creator's page to subscribe, and confirm the charge amount and renewal period. Auto-renewal is on by default; turn it off if you don't want it.
Troubleshooting Payment Failures
If adding a card or paying fails, check these directions—most issues you can fix yourself:
- International/online payments not enabled: contact your bank to enable "overseas transactions" and "card-not-present online transactions"—the most common trap for non-US cards.
- Network not supported: some card networks (like certain local card brands) aren't accepted by OF's payment channel; switch to Visa/Mastercard and try again.
- Risk control blocks: your bank's risk control may block transactions to platforms like OF; when you get a bank SMS prompt, confirm it's "a legitimate transaction"; if the bank declines outright, contact customer service to release it.
- Insufficient balance/limit: make sure the card has enough USD balance after accounting for conversion fees.
- Billing address mismatch: a billing address that doesn't match the bank's record fails verification; make them consistent.
- Regional restrictions: a few regions/issuers restrict OF transactions; use a payment environment that supports the scenario when needed.
Statement Display and Payment Security
Statement display: On bank statements, OnlyFans charges usually appear as "OFAN" or starting with "OFAN-XXX" (for privacy, the full platform name isn't shown)—this is normal, not fraud. But note: the OFAN prefix doesn't mean full anonymity; bank support can still see the complete transaction record.
Payment security: Card payments go through the card network's encrypted channel; the risk mainly comes from your account side—don't hand your card number to untrustworthy third-party "top-up" services, make sure the URL is onlyfans.com when you sign in, and enable two-step verification on your account. If your card number has ever leaked, contact the bank to replace the card.
There's an easily overlooked related risk: account security directly affects the content you paid for. If your OnlyFans account is stolen or banned, your subscribed content and history can vanish with it; creators can also delete posts or close accounts at any time, making content disappear completely—payments solve "can you watch it"; saving solves "will it still be there".
After Paying, Save the Content
A subscription buys access, not ownership—content on subscription platforms like OnlyFans (and Fansly, LoyalFans, MYM.fans, JustForFans, Patreon too) is mostly copyright-protected and ordinary downloaders can't grab it; creator deletions, closed accounts, and expired subscriptions all make paid content disappear. For videos you want to rewatch, saving them locally while you can still play them is the most reliable move.
Saving with VidBrowser is simple:
Step 1: Download and install VidBrowser
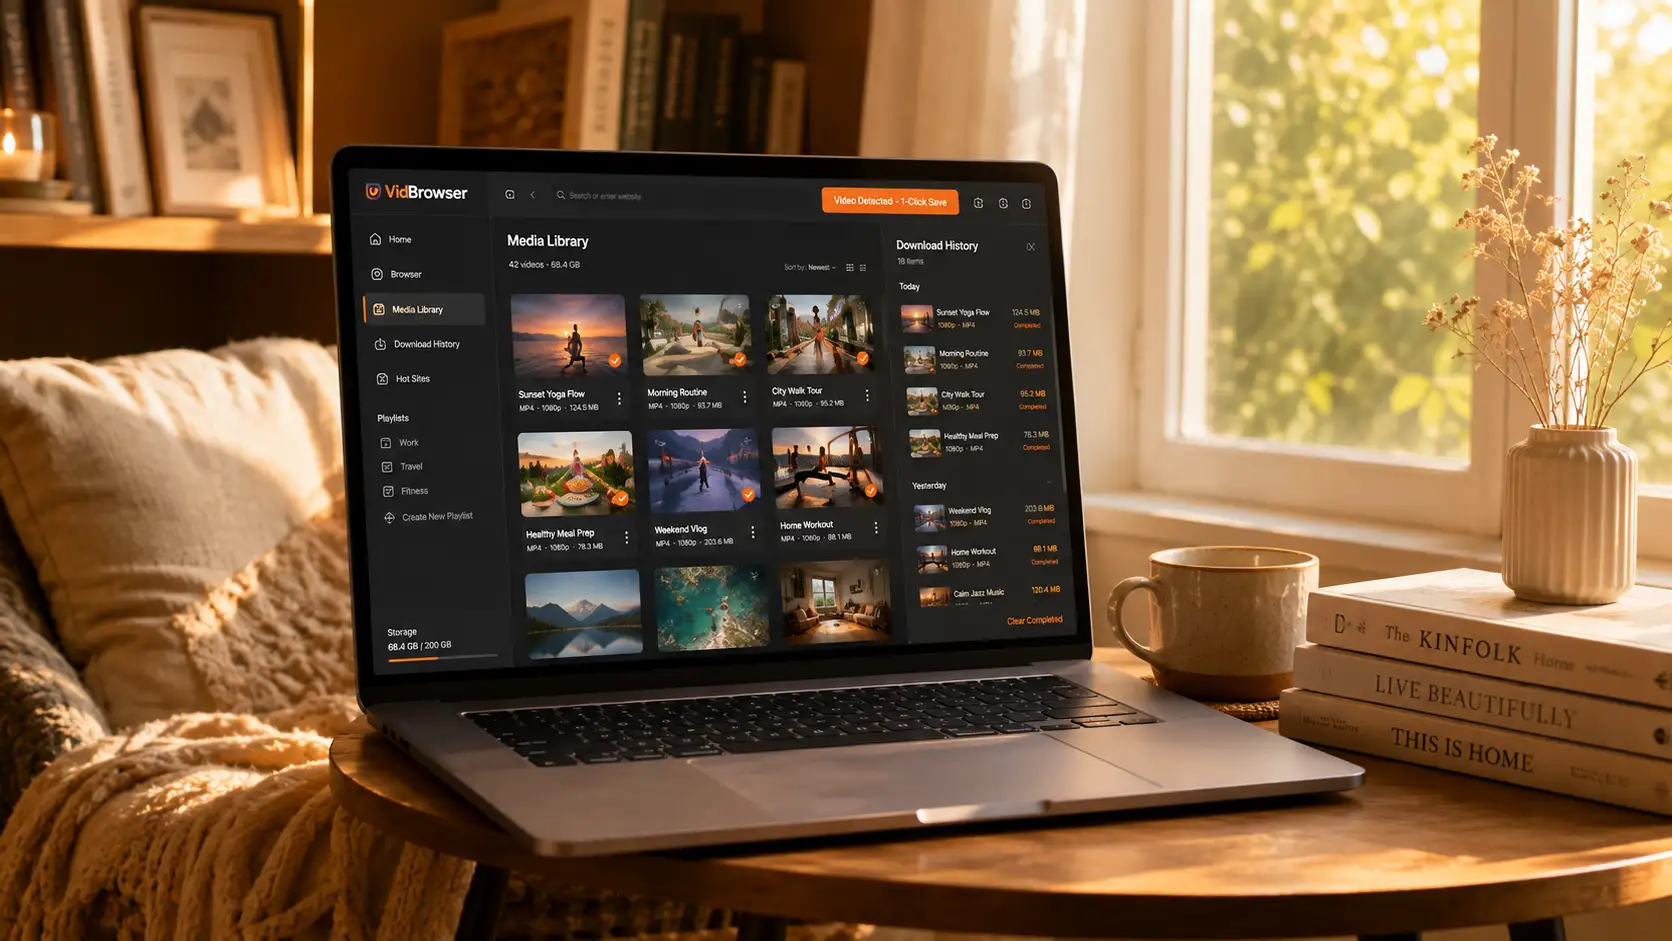
VidBrowser is a desktop video browser for Windows and Mac: watch videos, capture clips, and save them locally, with built-in download and recording. Installation takes just a few minutes.
Step 2: Open OnlyFans in VidBrowser and sign in
Launch VidBrowser, visit onlyfans.com, and sign in with your own account. Your existing subscriptions and purchases work exactly as in a normal browser.
Step 3: Play the video you want to save
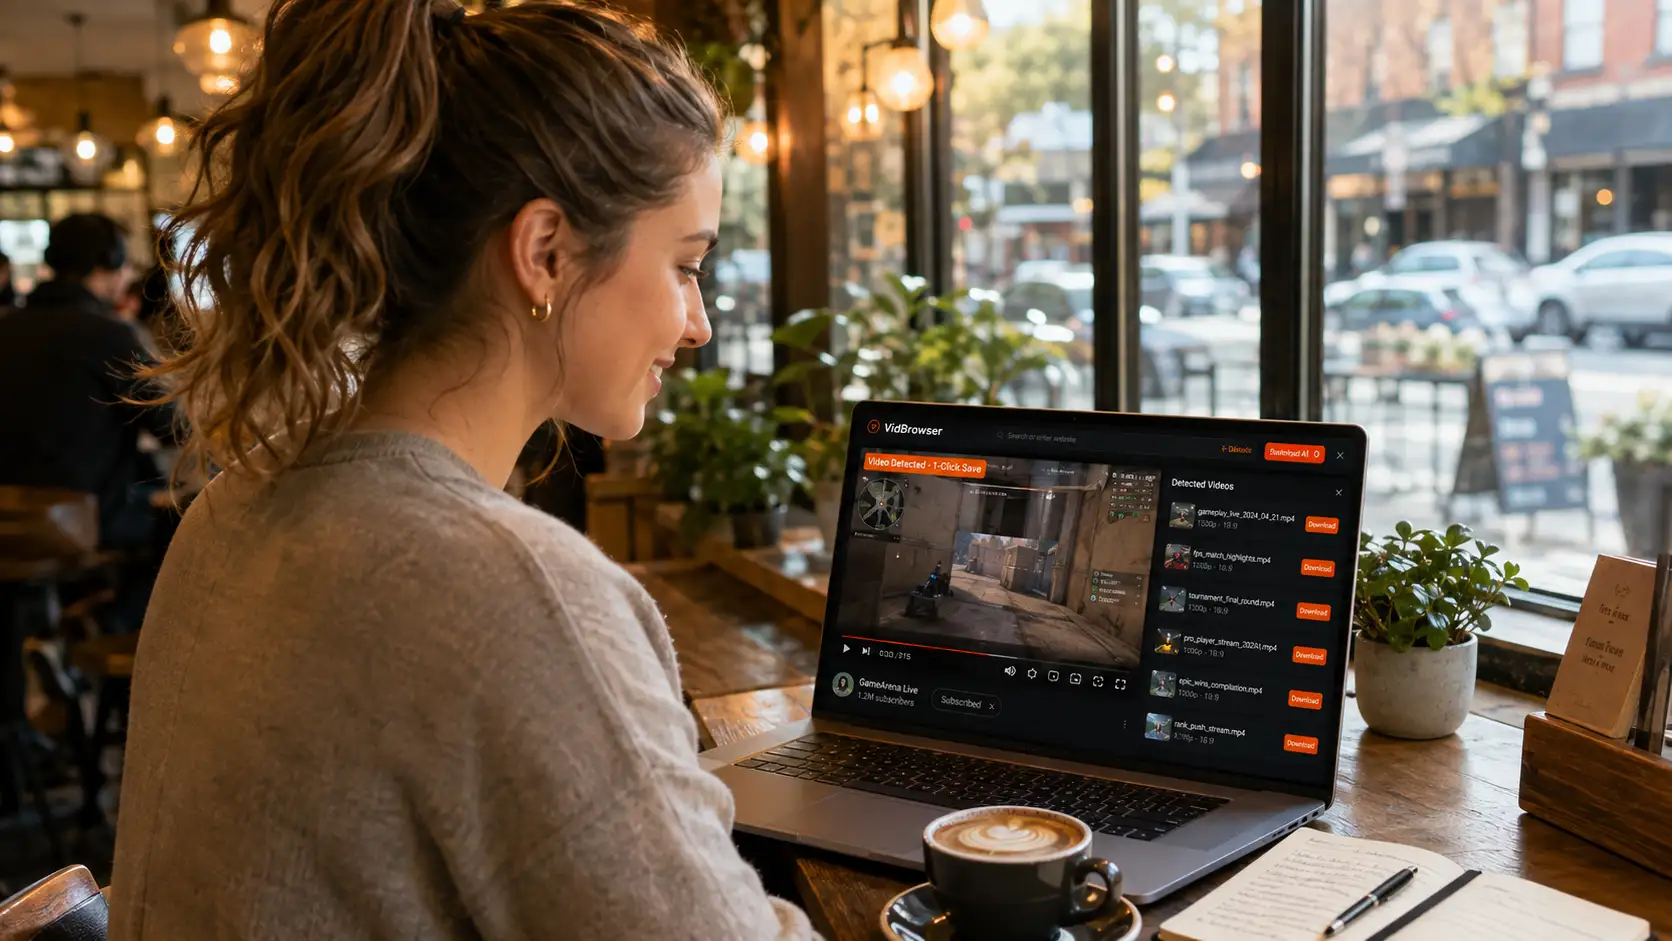
Open a subscribed post or an unlocked video and let it play for a few seconds. VidBrowser automatically detects video resources on the page and lists detected streams in the "Video Library" panel on the right.
Step 4: Save with the recording feature (first choice for protected content)
Most videos on subscription platforms like OnlyFans are copyright-protected and ordinary downloaders fail on them; VidBrowser's recording is the most reliable way to save: hover your mouse over the video and recording controls appear—pick a speed (1x real-time, or 2x/4x to finish faster), click "Record All" to capture the whole video, and the button on the left lets you start or pause anytime. Anything that plays can be recorded.
If a video can be downloaded directly, the "Video Library" panel lists it with an orange "Download" button—one click saves it as MP4 (you can also pick the resolution first).
Step 5: Find the file in your library
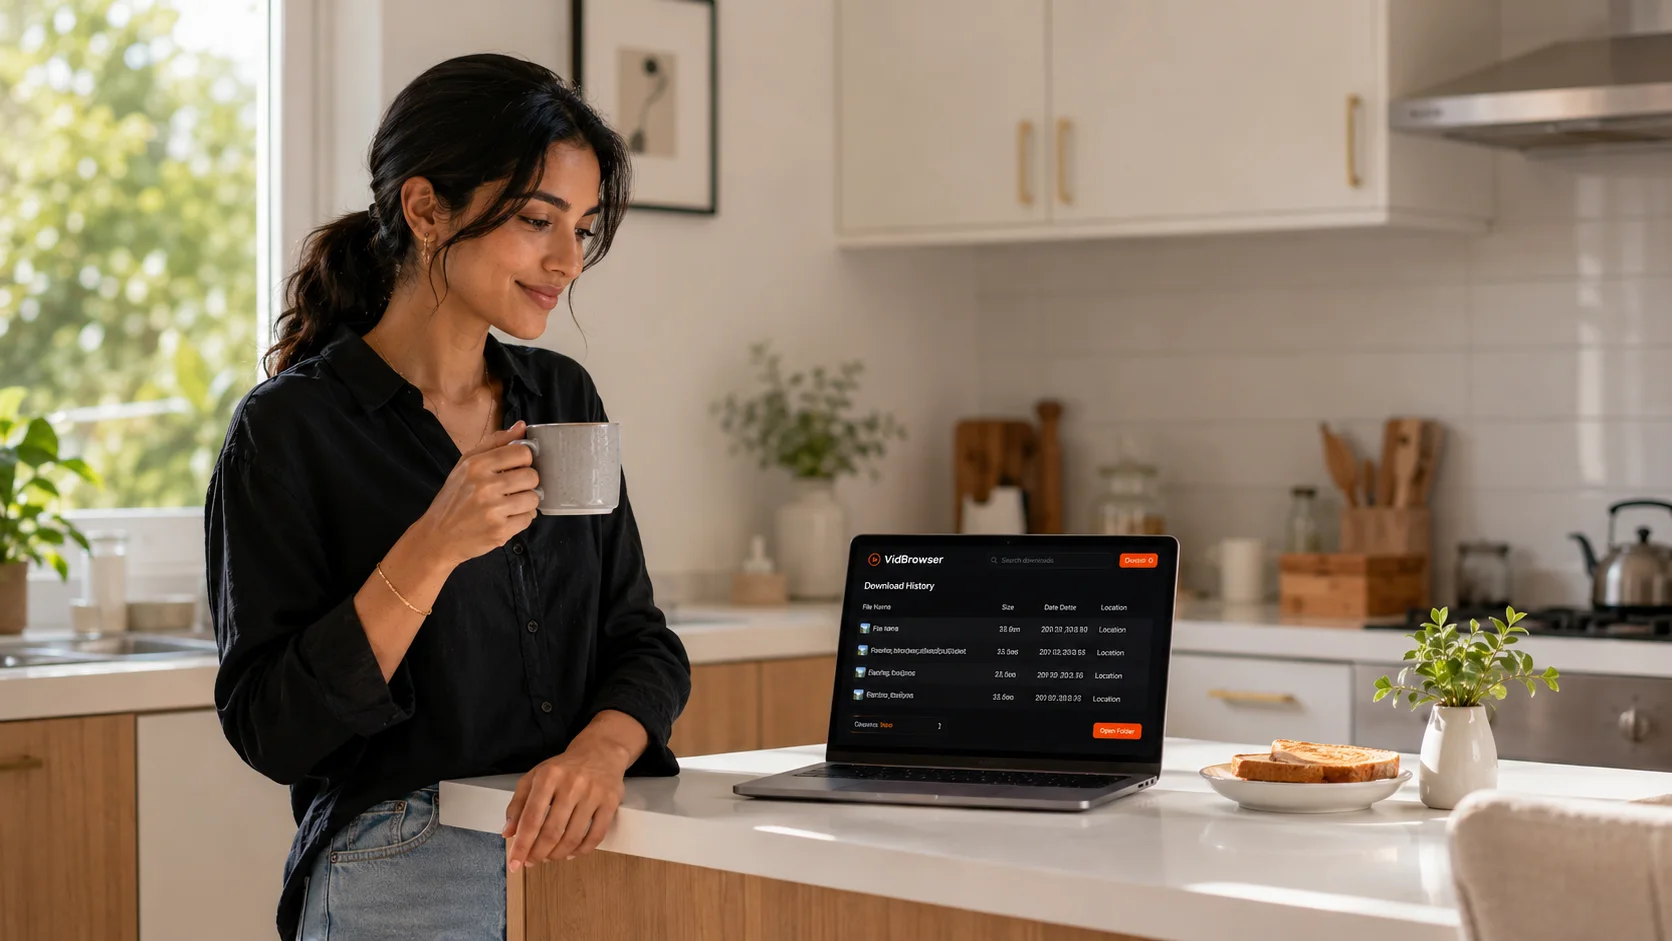
After saving or recording, open the file from your chosen folder or find it in VidBrowser's download history. Play it offline anytime with VLC, QuickTime, or any player—no account or subscription required. (For full details, see our OnlyFans video download guide.)
FAQ
Does OnlyFans accept PayPal?
No. OnlyFans mainly accepts international cards like Visa and Mastercard; PayPal, crypto, and wire transfers are all outside the supported range.
What's the most common reason a card is declined?
International transactions or card-not-present online payments not being enabled is the most common reason non-US cards are declined. First confirm with your issuing bank that both features are on, then check the card network and billing address match.
What is the small charge when adding a card?
It's a payment network verification charge, usually around $0.01-$1, automatically refunded after verification—not an actual purchase. If it hasn't returned, it usually posts within 1-2 billing cycles; contact your bank to confirm.
Does saving OnlyFans videos notify creators?
No. VidBrowser saves videos to your local device and sends no save records to any platform or creator, and it doesn't affect your account or subscription.