
Before you compress: bitrate is the knob that decides video size
A video recorded just a few minutes long spins for ages in the chat window before failing with a "file too large" message. Most platforms cap attachments in the tens of megabytes; the Discord free tier 10MB figure was already covered in the Discord video saving guide, so it will not be repeated here. The real fix is to shrink the file first, but compression is not a matter of dragging the quality slider to the bottom: quality, resolution and target size each govern a different part of the result, and turning them in the wrong order leaves you either still over the limit or with an unwatchable blur.
Why video compression works: bitrate decides the size, not the resolution in the filename
Video compression, at its core, lowers the amount of data used to describe each frame, which is the bitrate; file size roughly equals bitrate times duration, so halving the bitrate halves the file.Many people assume a video is large because the resolution is high, but resolution is more like the outer shell of the picture: two 1080p files can differ several times in bitrate, and therefore several times in size. Whether a file can be compressed meaningfully starts with this number.
One common confusion is worth clearing up: why does some 1080p video look blurrier than someone else's 720p? The answer is again the bitrate. A file can be labeled high resolution while the bitrate is too low to carry the detail. This is also why compression has to happen inside a re-encode: the data has to be recomputed to be saved, and a container swap does nothing. The difference between the two kinds of conversion was covered in the format conversion guide, so one line here is enough. The mainstream encoding standards today are H.264 and H.265, the latter saving roughly half the bitrate at equal quality and recognized as the H.265 standard by the ITU; files produced by newer tools increasingly use this encoding.
Quality, resolution, target size: three knobs, turned backwards from the use case
Do not tune compression parameters front to back. Decide first where this file is going, then work backwards to which knob to turn.The three knobs have separate jobs: quality decides how much detail survives the re-encode, and is the key to whether the result looks blurry; resolution decides the picture dimensions, which look the same on screen but change the data volume with the pixel count; target size works the other way around, you set how large the file may be and let the tool derive the parameters, which suits scenarios pinned by platform limits.
Working backwards from the use case usually lands on one of three combinations:
- Sending to a chat app: the receiving platform caps attachments in the tens of MB, so setting the target size just under the limit is the easiest path, and quality is left to the tool to balance;
- Posting to a social platform or archiving to cloud storage: quality first, keep the resolution unchanged, and trade quality level for size;
- Sending to someone who will watch on a big screen: leave the resolution alone and do not squeeze quality too hard, since these scenarios demand detail, so compress lightly.
An easy trap is turning all three knobs hard at once: halve the resolution and drop a quality level, the size collapses, but re-encode stacked on re-encode compounds the damage, and the picture degrades a notch each pass. The image compression guide covered the same logic, and compressing images behaves the same way; video simply stacks faster.
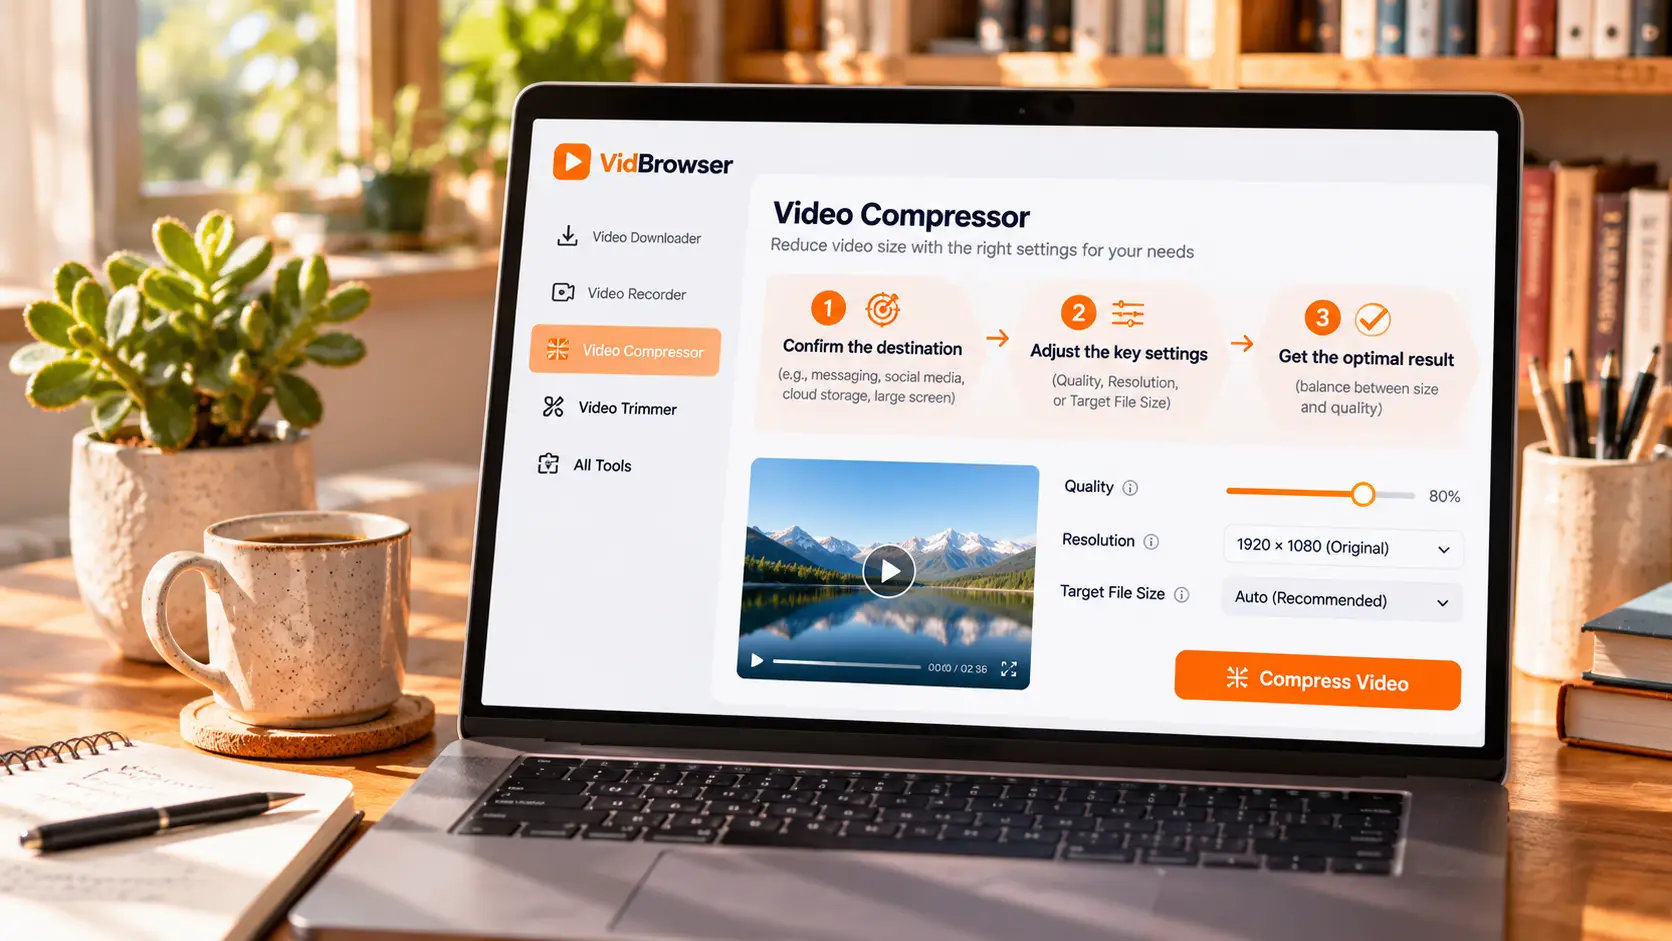
Four steps to compress MP4 online
The whole flow runs in the browser, the file never uploads to any server, and all processing happens locally.The entry point is the free video compressor tool page, and the operation takes four steps:
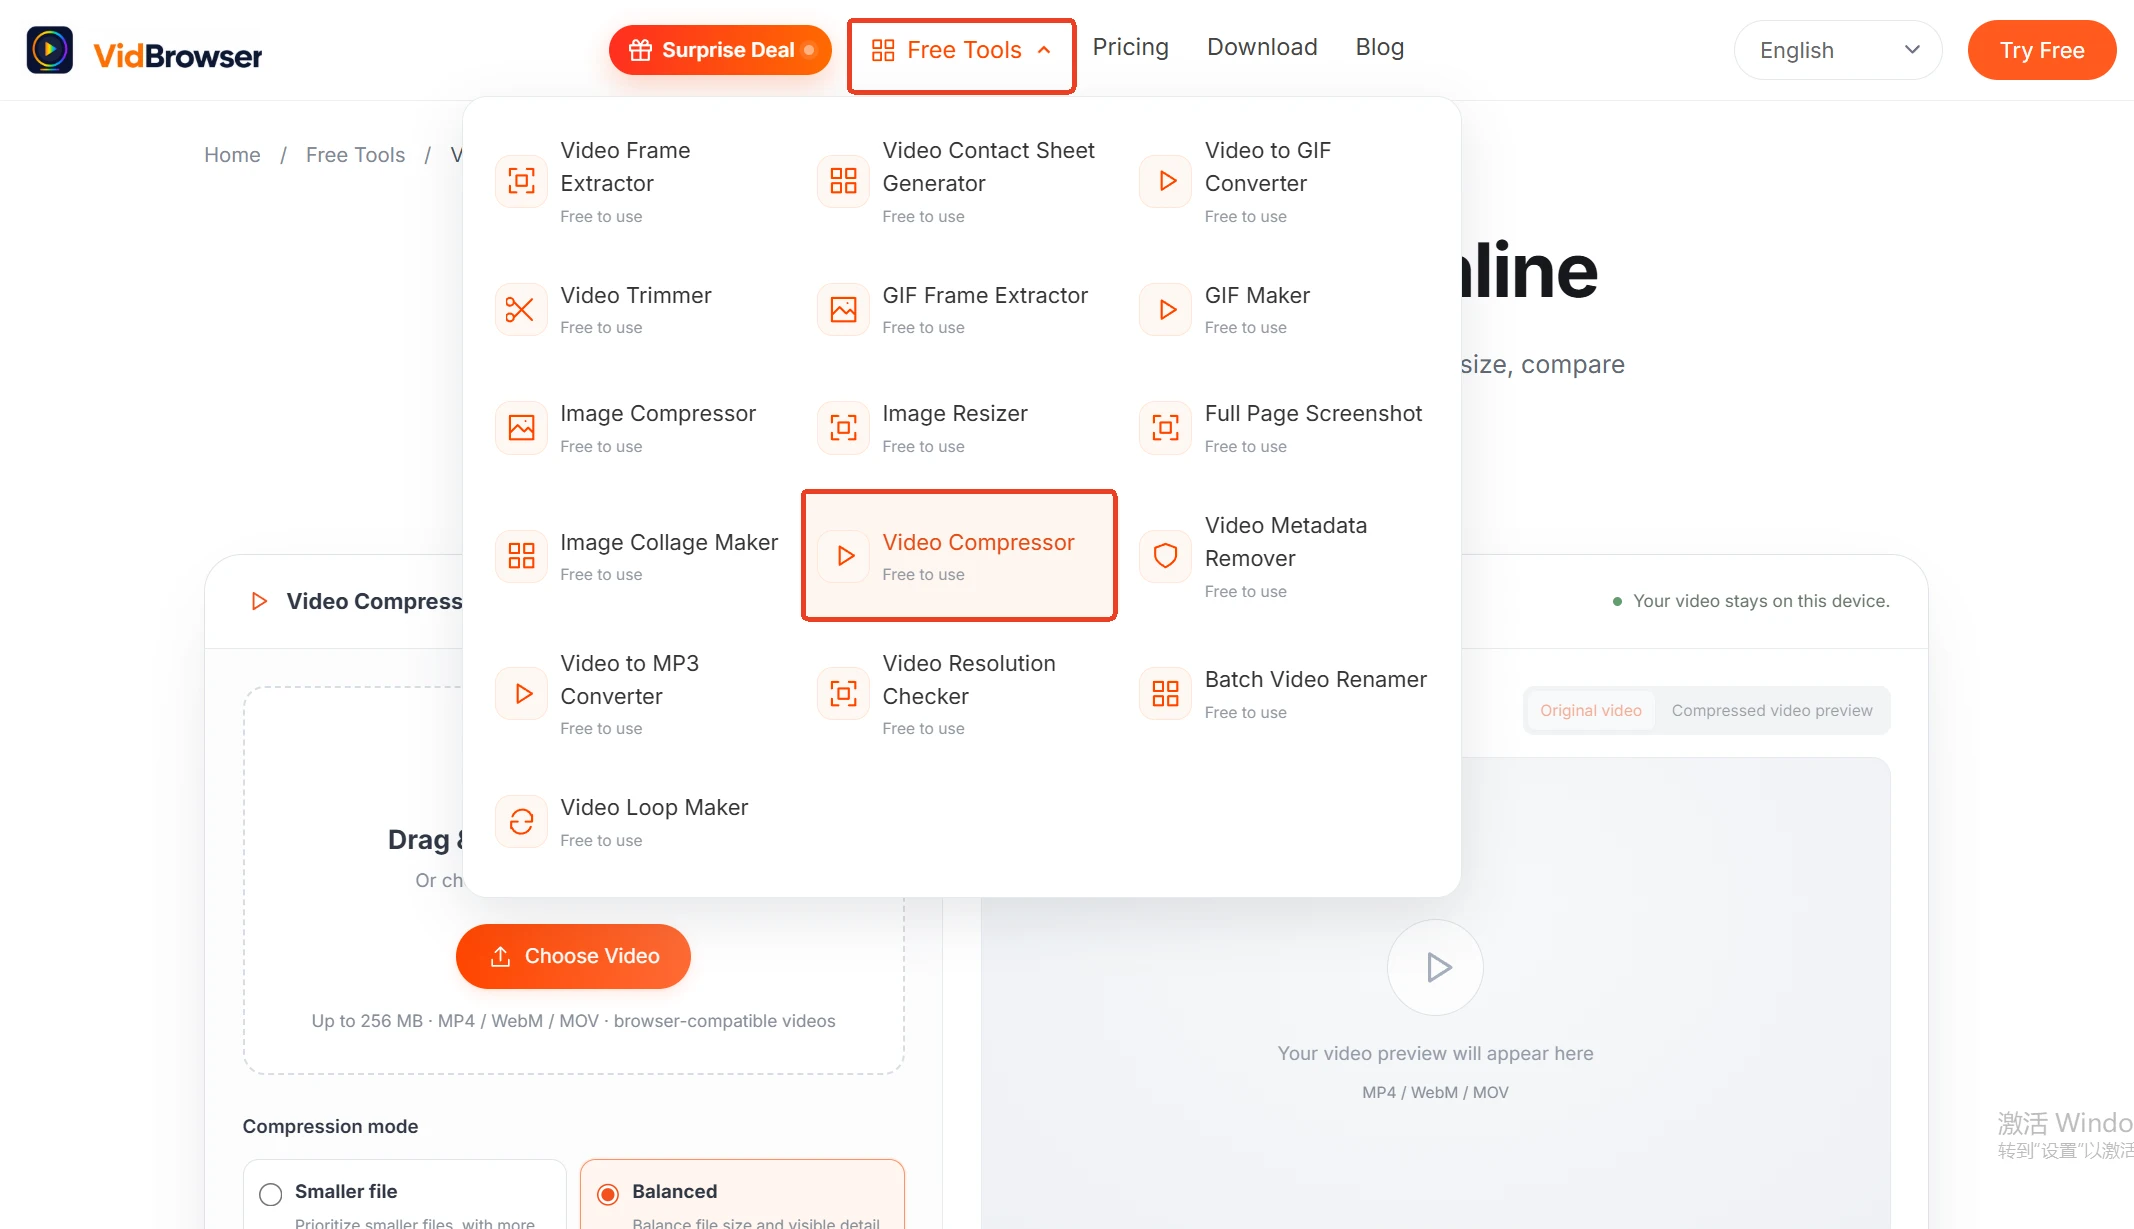
Step 1: open the tool page and drop the video in
The page supports drag-and-drop, and a button lets you pick a file from disk. The video never leaves this computer, so large files do not spend time uploading back and forth.
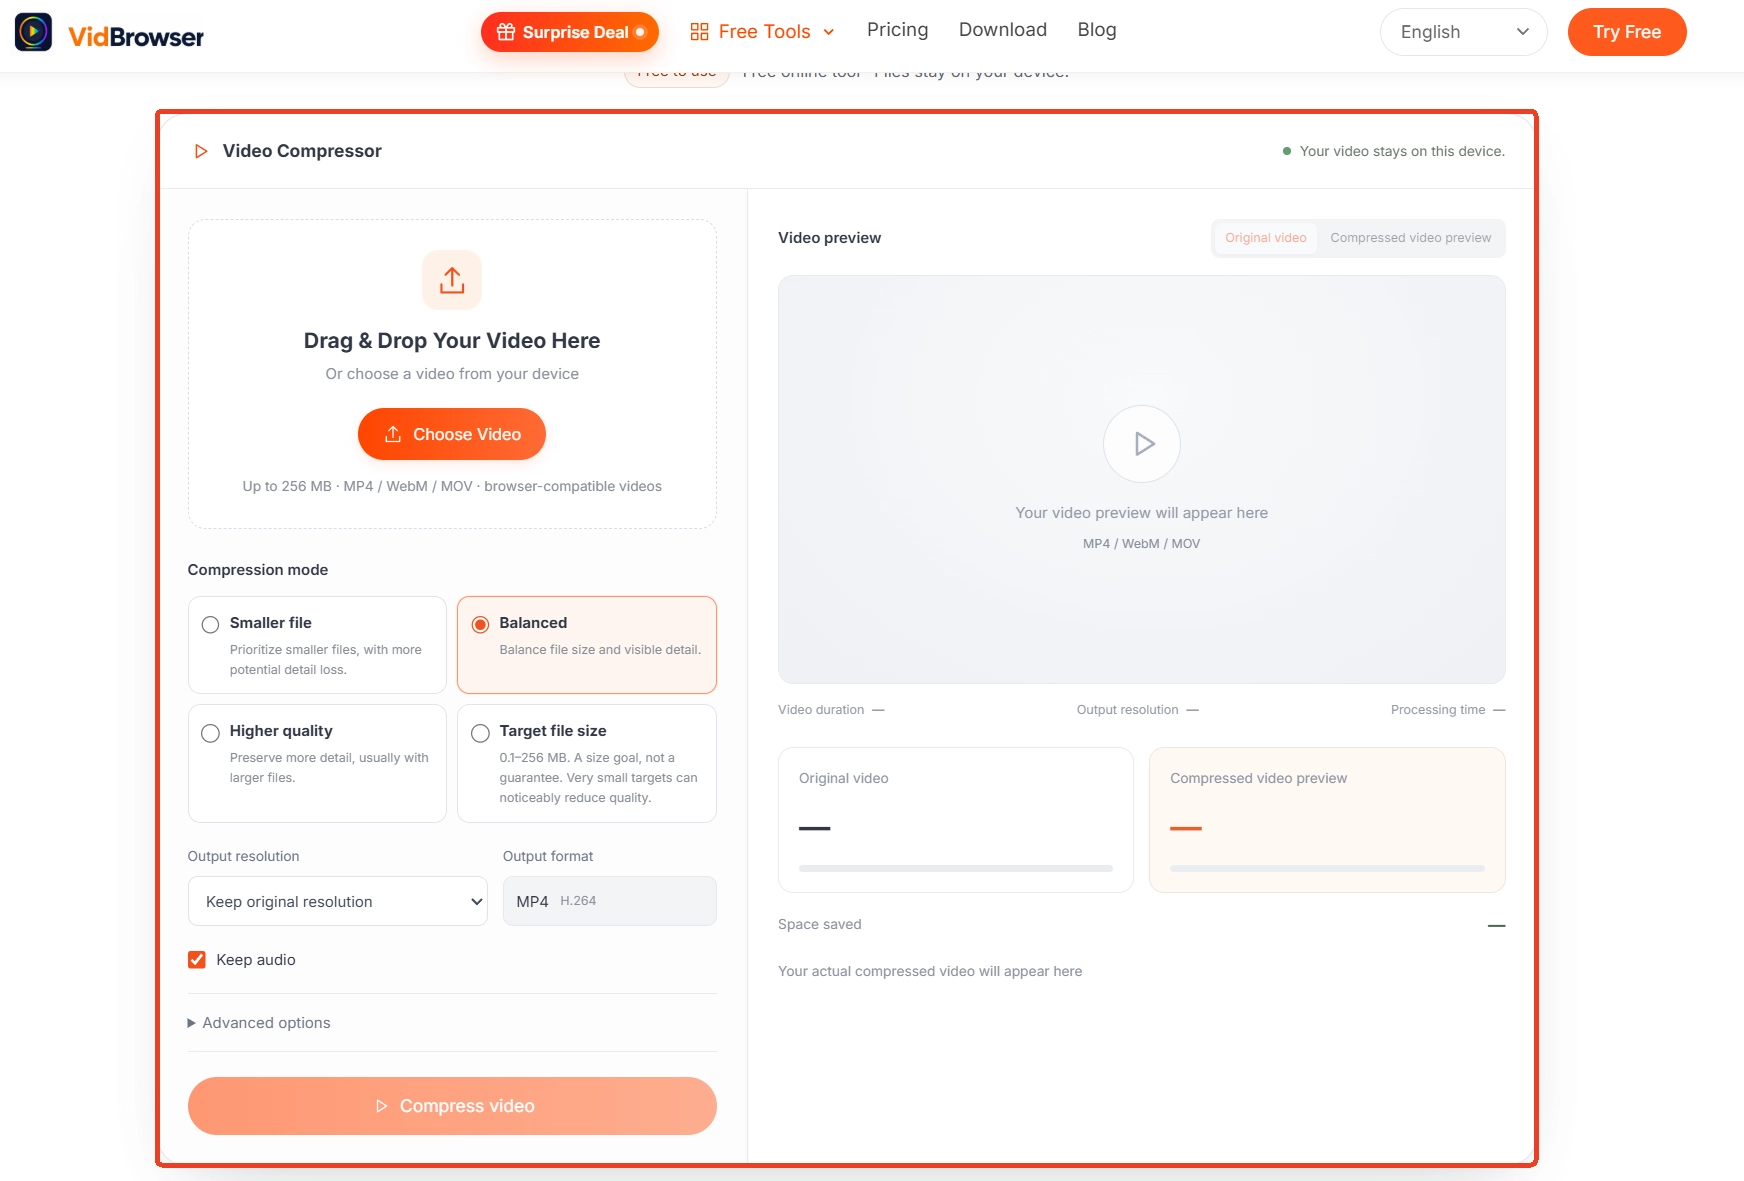
Step 2: set quality and resolution
Pick the two settings based on the use case analysis above. If unsure, start with quality and keep the resolution unchanged, then decide whether to go lower after seeing the result.
Step 3: when a size cap applies, set the target size
For scenarios pinned by platform limits, type the number just under the limit into target size and the tool derives matching parameters, far faster than manual trial and error.
Step 4: preview the comparison, then download
Check the preview comparison first and save only when the quality is acceptable. If not, go back to step 2, adjust a level and redo; the file is still where it was, and the cost is another compression pass.
Save the video locally first: download and record are the two routes
A video has to be a local file before it can be compressed, and the sources come down to two kinds: directly downloadable, and record-only.VidBrowser is a desktop video browser for watching videos on Windows and Mac, clipping segments and saving them locally, with download and recording as its two built-in functions; the official site links the download. On public platforms, the video library panel on the right lists detected items, and the orange download button saves them as MP4, with resolution selectable before saving; for protected content on subscription platforms that ordinary downloaders cannot grab, recording is the dependable route: move the mouse over the video and the recording controls overlay appears, choose a recording speed (1x real time, 2x or 4x to finish faster), press record-all to capture the whole video, and the button on the left can start or pause at any time. The saved file drops straight into the compressor above, so saving and shrinking run on one line.
Keep the file safe after compressing: preserve the original, never recompress the same copy
Compression is lossy: every pass discards some detail, and recompressing the same file stacks the damage all the way down.The right habit is to keep the original intact and produce a fresh copy from it each time, one version per platform with its own parameters, never interfering with each other. Rename the compressed output to something recognizable, noting the quality level or target size, so future retrieval involves no guessing; the naming rules for batch archiving get their own coverage in the batch renaming piece.
One more easily missed point: the compressor outputs MP4 across the board, and the result plays on almost every device and chat app with no further conversion. If your original sits in another container format, confirm the conversion path in the format conversion guide first, then enter the compression flow.
Summary
Compressing video means deciding the use case before touching parameters: pinned by a limit, set the target size; when clarity matters, keep the resolution and lower the quality level instead. On tool choice, local processing beats uploading to an unknown server for peace of mind, and after compressing, keep the original and derive each platform's version from it, so quality does not slide downhill.
FAQ
Two files are both 1080p: why does one survive compression looking fine while the other turns to mush?
It depends on whether the original bitrate had headroom. A file with generous bitrate has slack to spare, and one compression pass is nearly invisible; a file that was already bitrate-starved only gets worse. A glance at the preview comparison before committing beats memorizing any parameter.
What target size should I set?
Work backwards from the receiver's limit. Chat app attachment caps mostly sit in the tens of MB, so leave a little margin; for email, 20 to 25 MB is the common attachment ceiling. Setting a round number slightly under the limit, such as 20 MB, is the least likely to fail.
The compressed video will not play on another device. What now?
The output is uniformly MP4, which nearly all devices and apps support directly. Failure to play usually means the player lacks the decoder, and switching to a universal player such as VLC resolves it; for the "file exists but will not play" family, the missing-audio or black-screen checklist lives in its dedicated piece.