Video to GIF Sharp and Small: Duration, Width and Frame Rate Set Right
Turn a video clip into a GIF and two things usually happen: the picture is too blurry to read, or the file is too heavy for a chat window. The problem is rarely your workflow — it is the GIF format itself, fixed in 1987, that caps every frame at 256 colors and carries no sound. Sharp, small GIFs come down to three settings: duration, width and frame rate.
Why GIFs Are Blurry by Design: Three Hard Rules
A GIF and an MP4 are not the same kind of thing.GIF is an image format from 1987 — frames played in sequence, not compressed video. Three rules are baked in: at most 256 colors per frame, where HD video carries millions; no audio track, so nobody in the clip can be heard; and none of the compression tricks modern video relies on, so the same content weighs more.
So blur is not a bad tool — the format cut the colors. Heavy files are not badly set parameters — GIF compression simply wastes space. What GIF suits is a few seconds, looping, silent. Settle that first and the settings have a direction.
Duration, Width, Frame Rate: Three Settings Decide Sharpness and Size
Sharp and small is a budget calculated across three settings together; move one and the other two shift.The official video-to-GIF tool page gives starting values you can copy: width from 480 px, frame rate at 10 or 15 FPS, duration kept under 15 seconds.
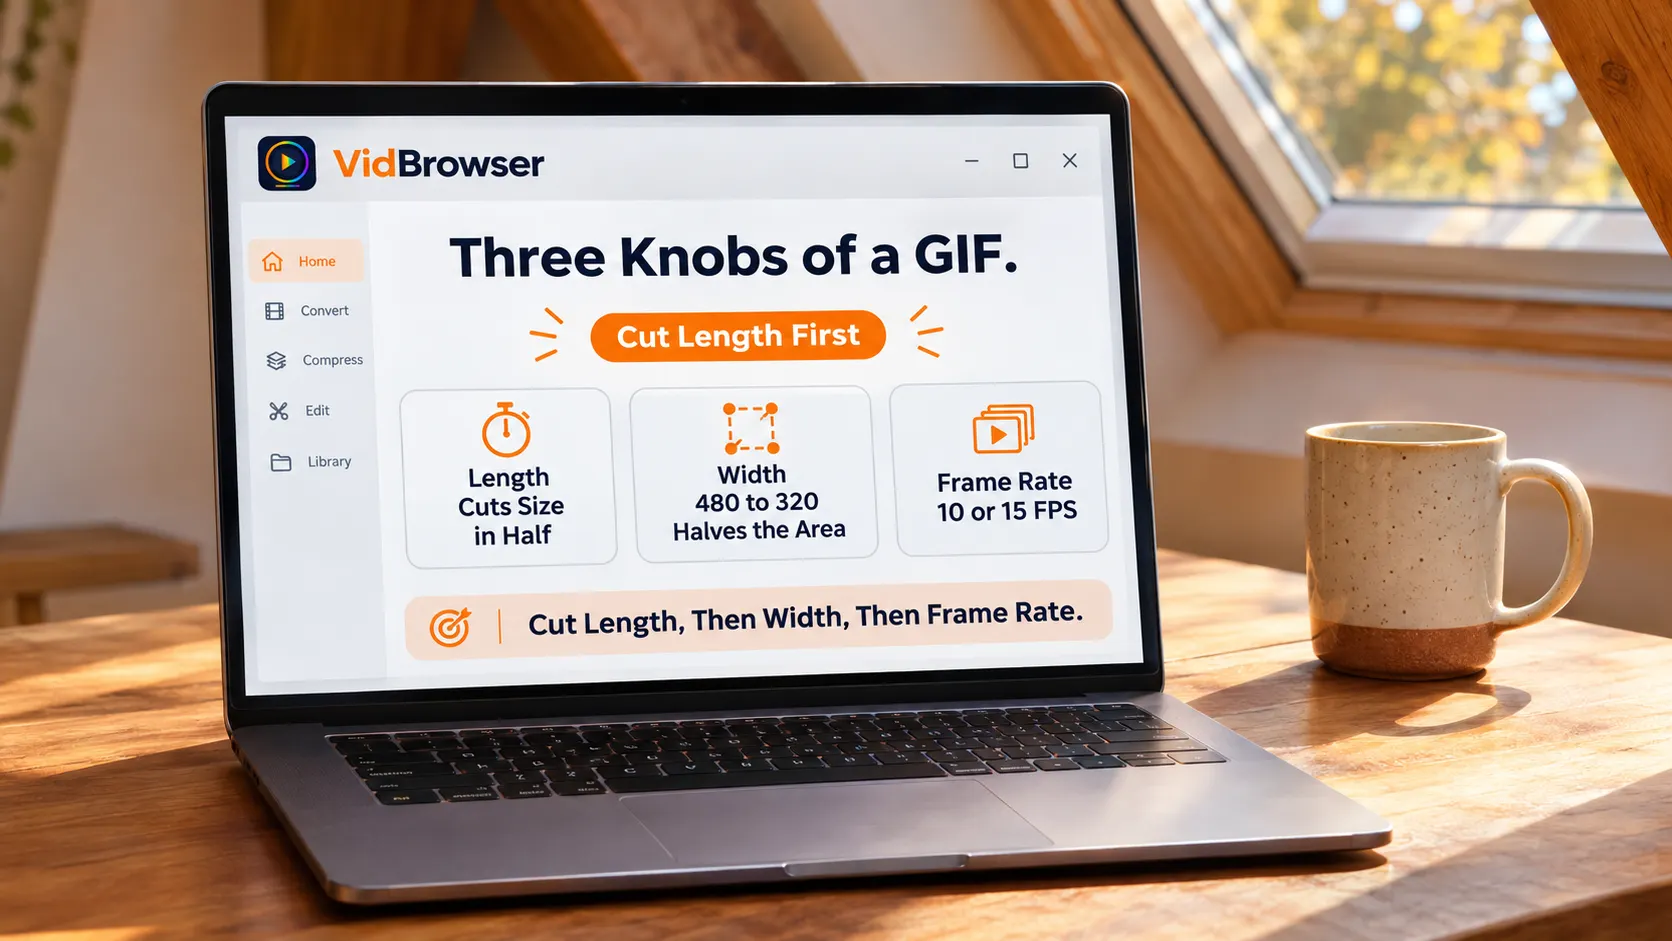
The three settings do not weigh the same: duration is the biggest lever on size — halve the clip and the file roughly halves; width comes next — 480 down to 320 nearly halves the picture area; frame rate governs smoothness — 10 or 15 FPS is enough for talking scenes, save faster motion, and the cost is a bigger file.
The working order is fixed: set duration first — pick the seconds that truly deserve a loop; then width — 320 px usually serves chat stickers, 480 for post images; frame rate last — if it plays smoothly, stop raising it. Ask at each cut what the viewer actually sees in those 15 seconds.
Content With Sound or Over 15 Seconds: Do Not Force a GIF
A GIF cannot hold sound or long content — switching format is the cheaper move in both cases.Dialogue, music or ambient audio is impossible at the format level; keep that as MP4. Past a dozen seconds, GIF size grows past MP4 and the loop stops holding up.
One common mix-up is worth clearing: the moving images on social platforms are often MP4 files wearing a GIF label — X is built this way, smooth and with sound. The two formats split the jobs: seconds-long loops go to GIF, sound and length go to MP4, X GIFs are actually MP4, the mechanism is broken down there.
Get the Segment Out of the Video First
The raw material for a GIF is a cut clip, and a desktop video browser keeps finding, saving and trimming inside one app.If the clip is still on the site, four steps:
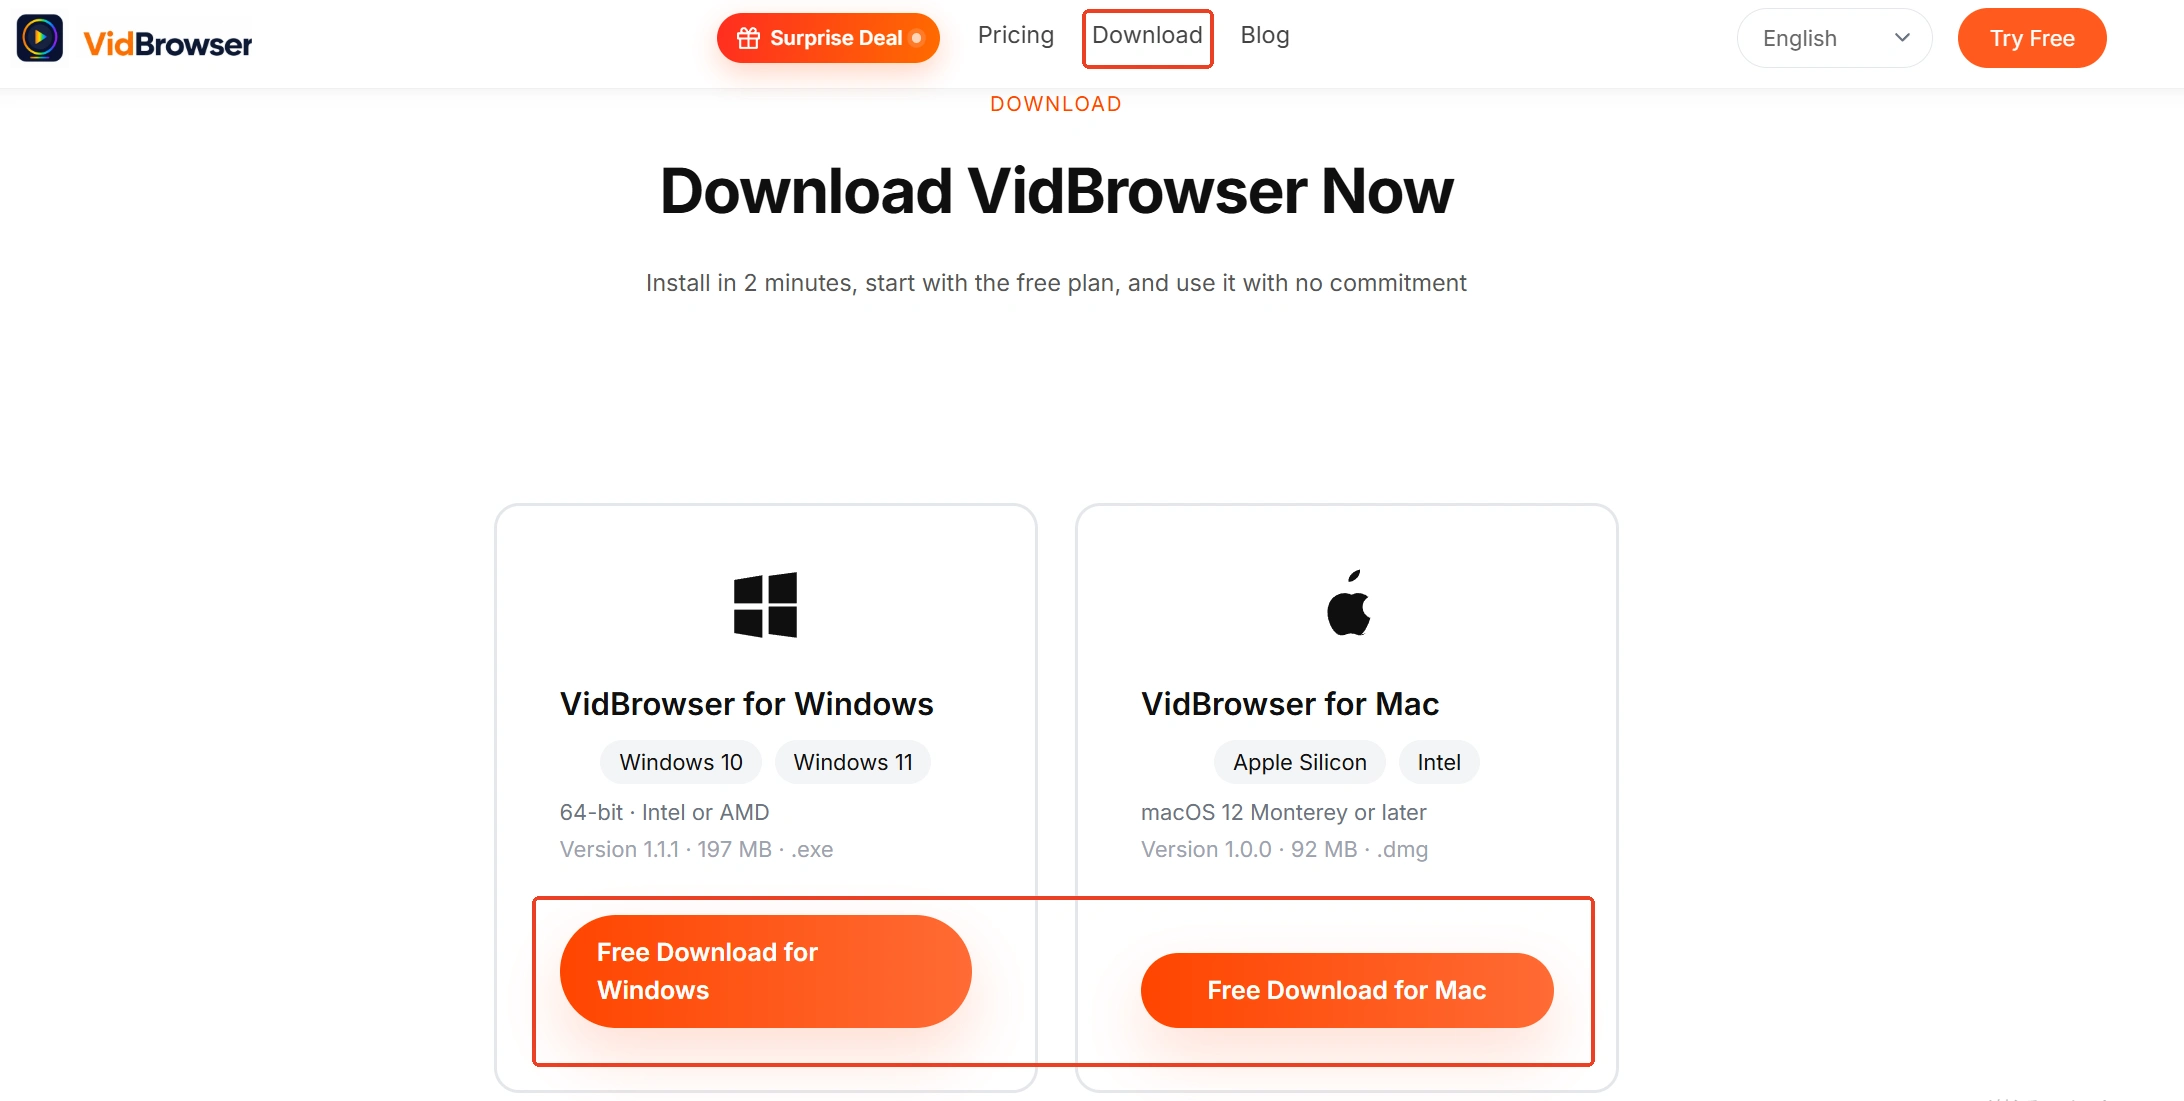
Step 1: Download and install VidBrowser
VidBrowser is a desktop video browser for Windows and Mac that watches video, trims segments and saves locally, with download and recording built in; installation takes minutes.
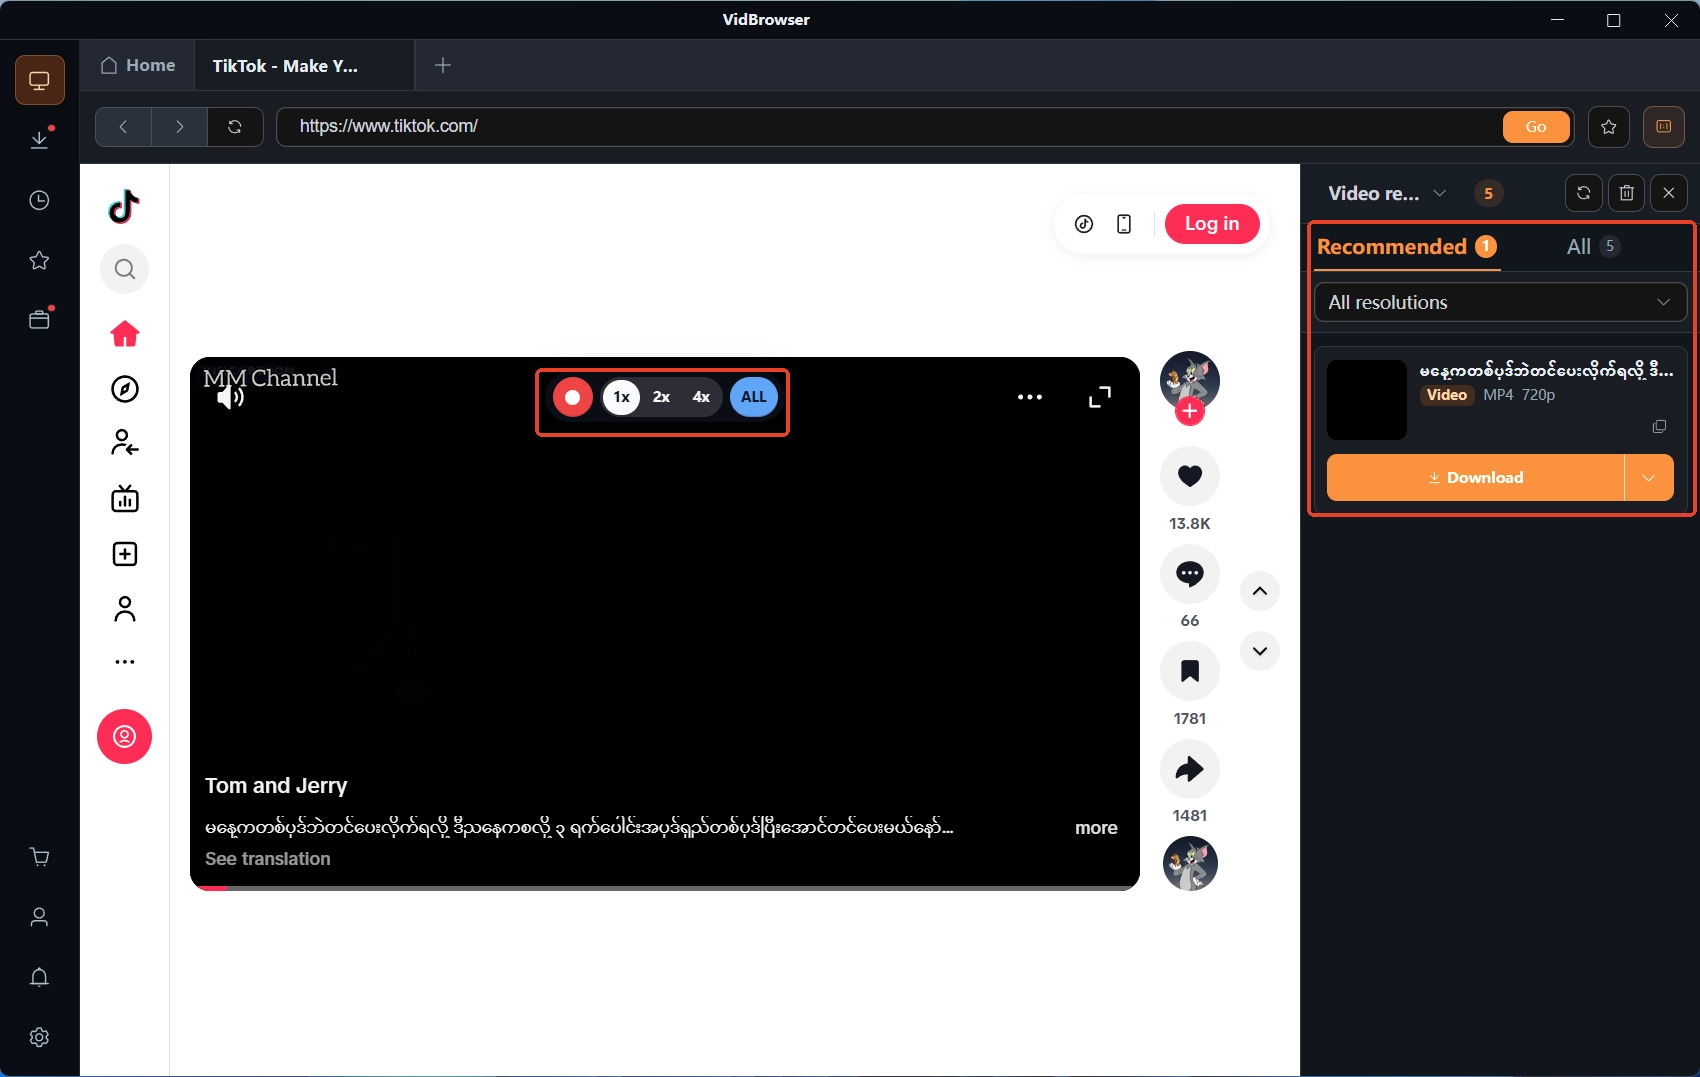
Step 2: Open the video page and save the video
Open the page in the built-in browser and the video media library panel on the right lists detected streams; hit the orange download button on an entry to save an MP4 (filter by resolution first if you like). Where download fails, hover the player and the recording overlay takes over — pick a speed (1x real time, 2x or 4x to finish sooner), press record-all, pause anytime from the left buttons, used within platform rules and content licenses.
Step 3: Trim the long video into a segment
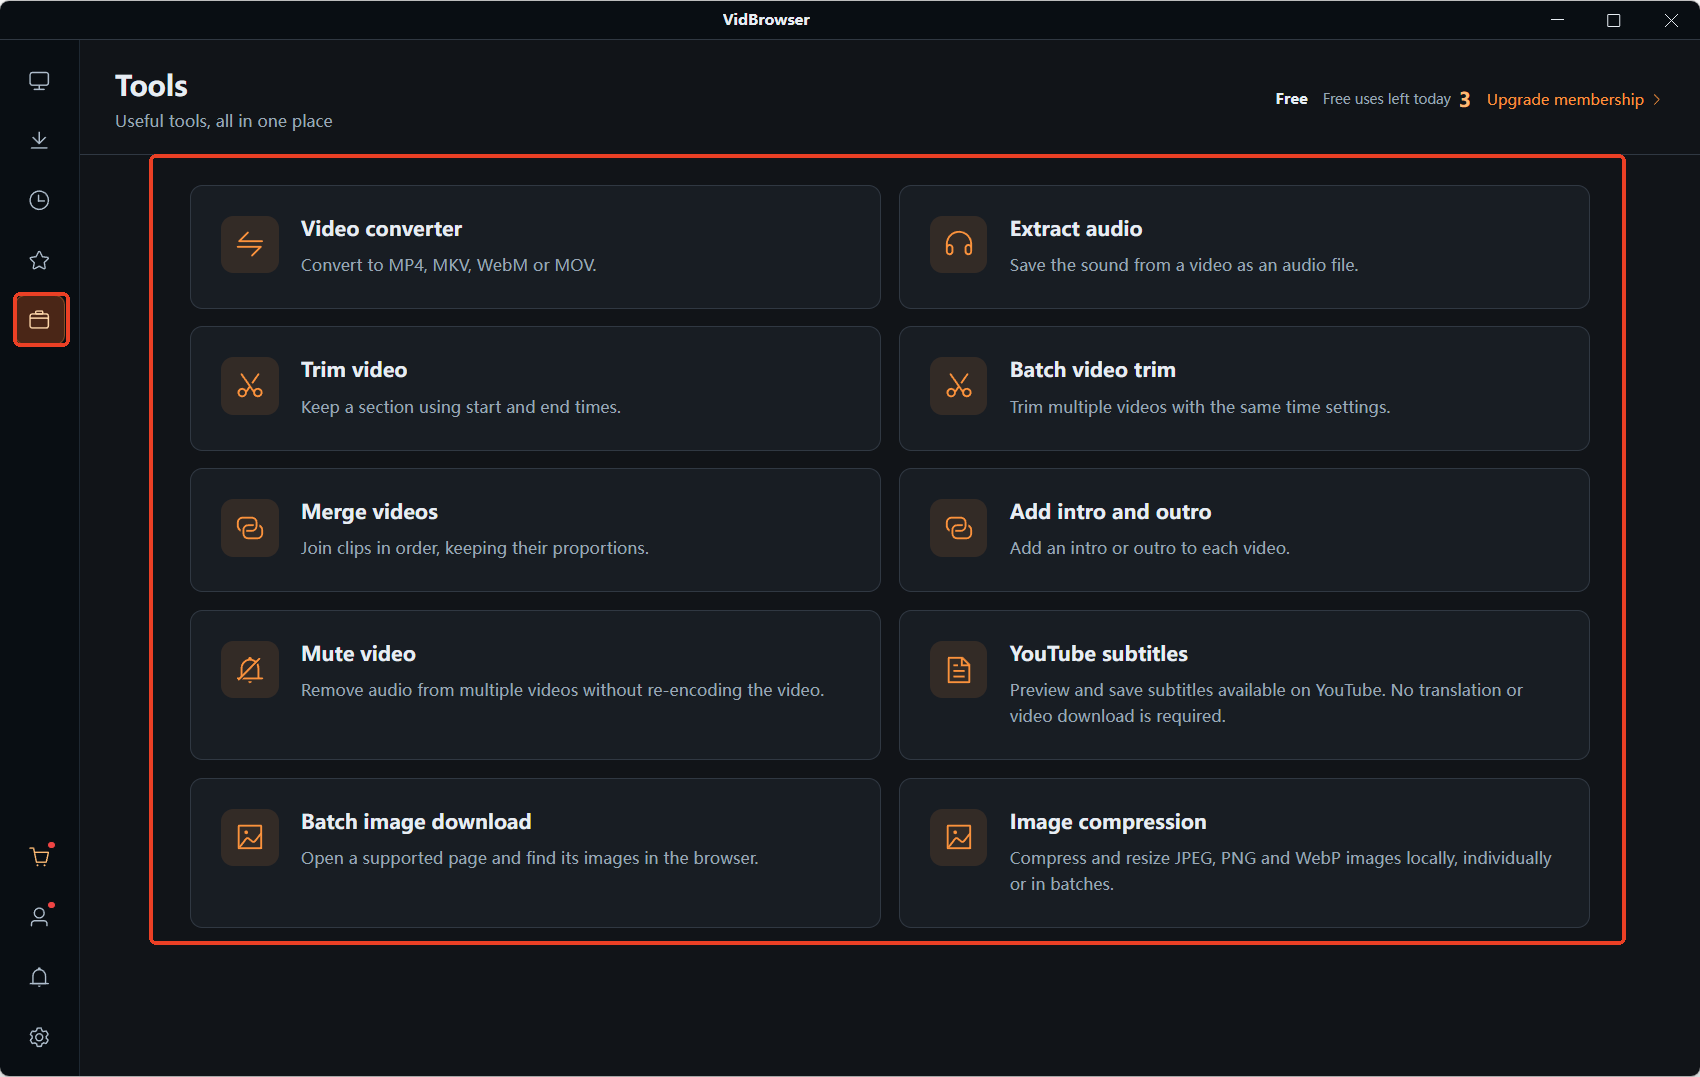
In the left navigation open the tools page and choose video trimmer, drag the saved video in, set start and end times by the second and the trimmed length shows automatically; re-encode mode exports the selected part as MP4. One file at a time — what comes out is the raw material for the GIF.
Step 4: Confirm the segment and move on
Once confirmed the segment saves to your computer and the GIF work starts. Downloaded or recorded, where the file sits, how the cut was made — the same software closes it out, no tool switching.
Four Steps From Segment to Finished GIF
The GIF itself is made on the official video-to-GIF tool page, files never leave your machine, and you convert only segments you saved and have the rights to use.
Step 1: Open the tool page and drop the segment in
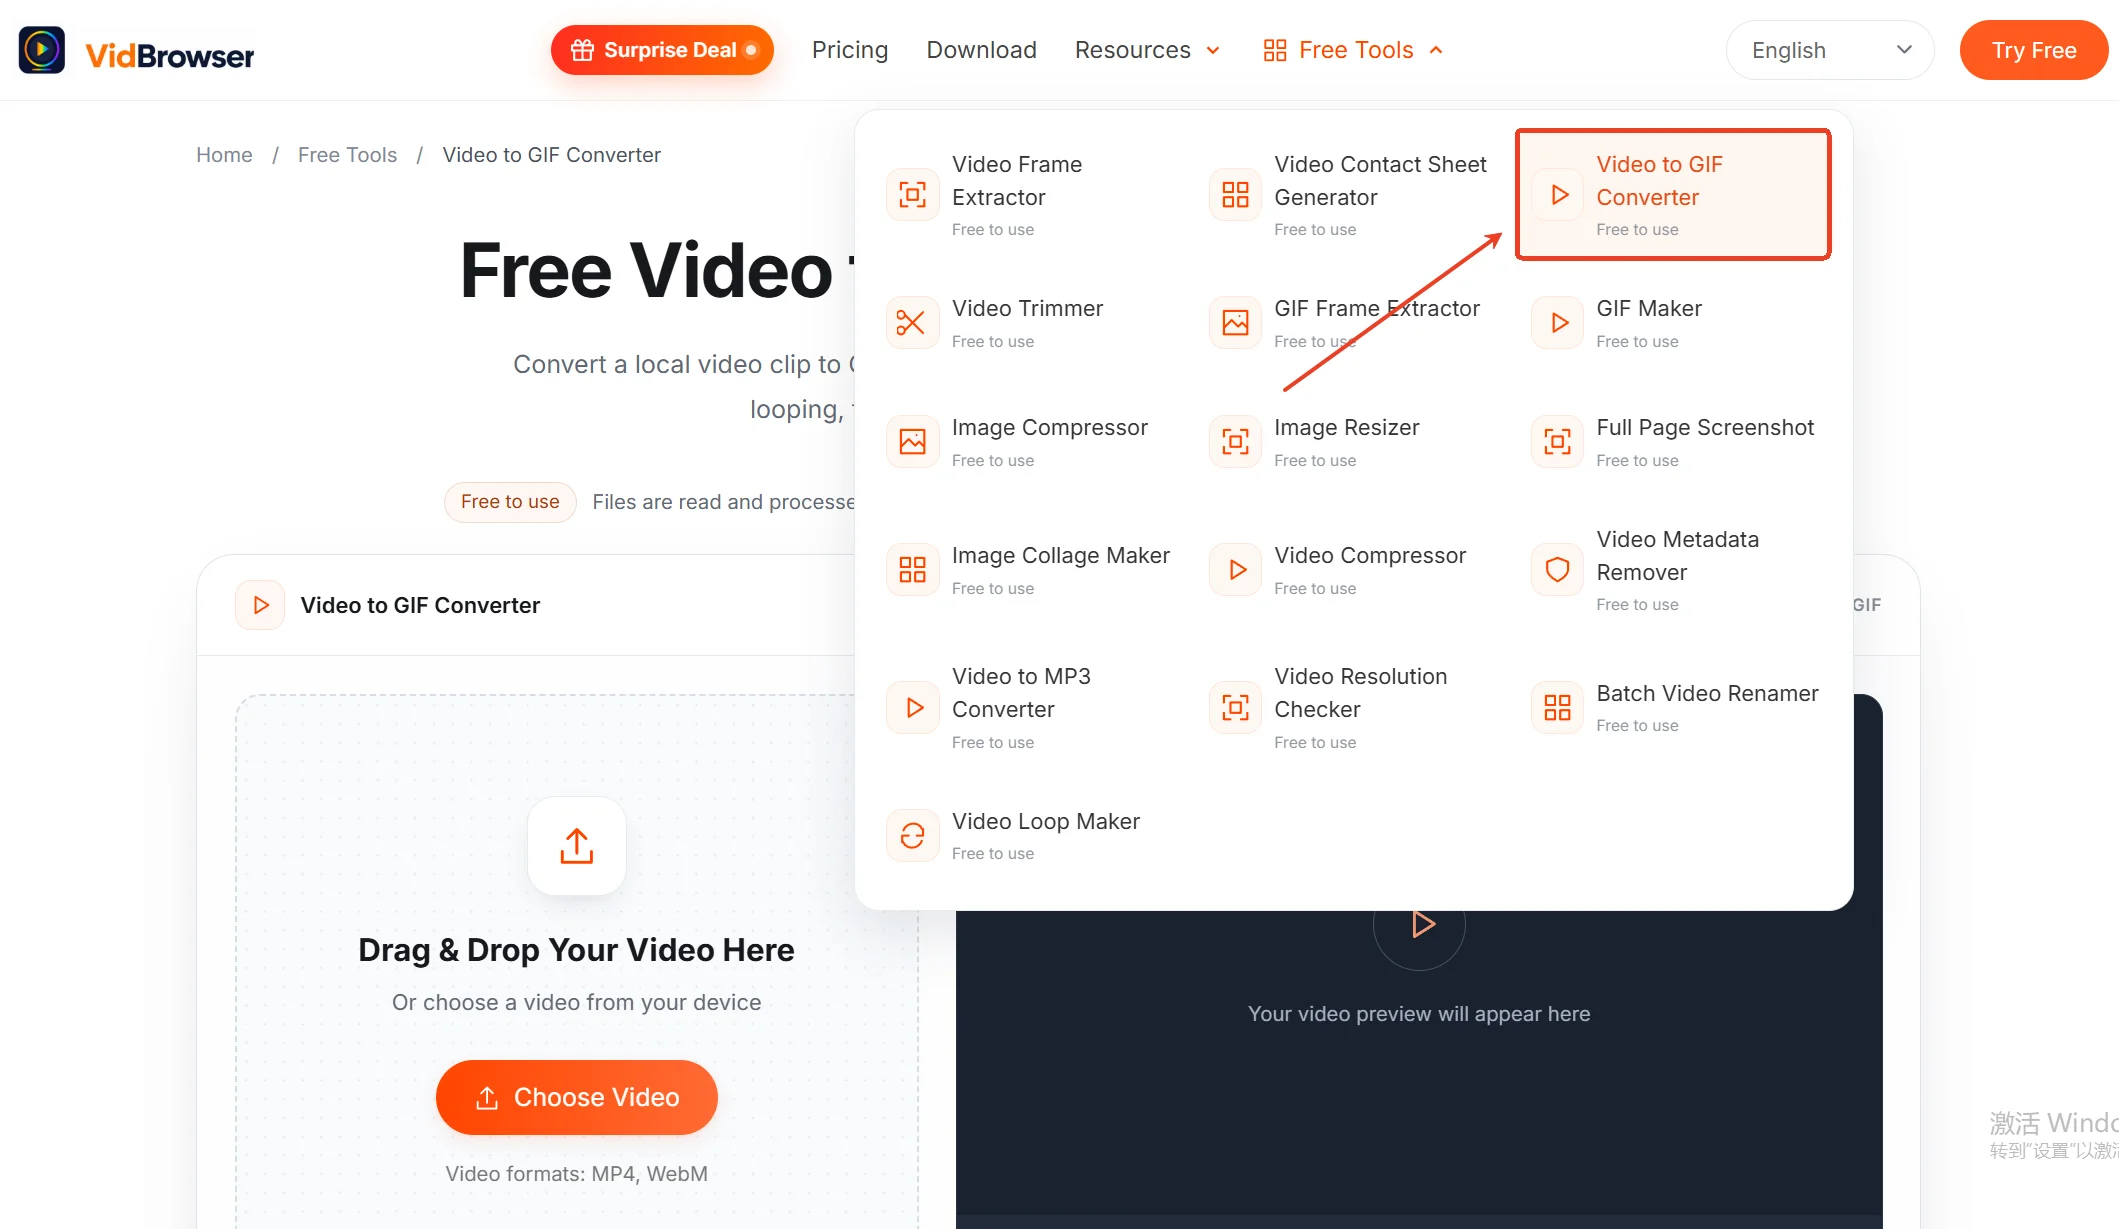
Open the video-to-GIF tool page in the browser and drag an MP4 or WebM into the dashed box, or use the choose-video button to pick a file from your device.
Step 2: Pick the part and hold the duration down
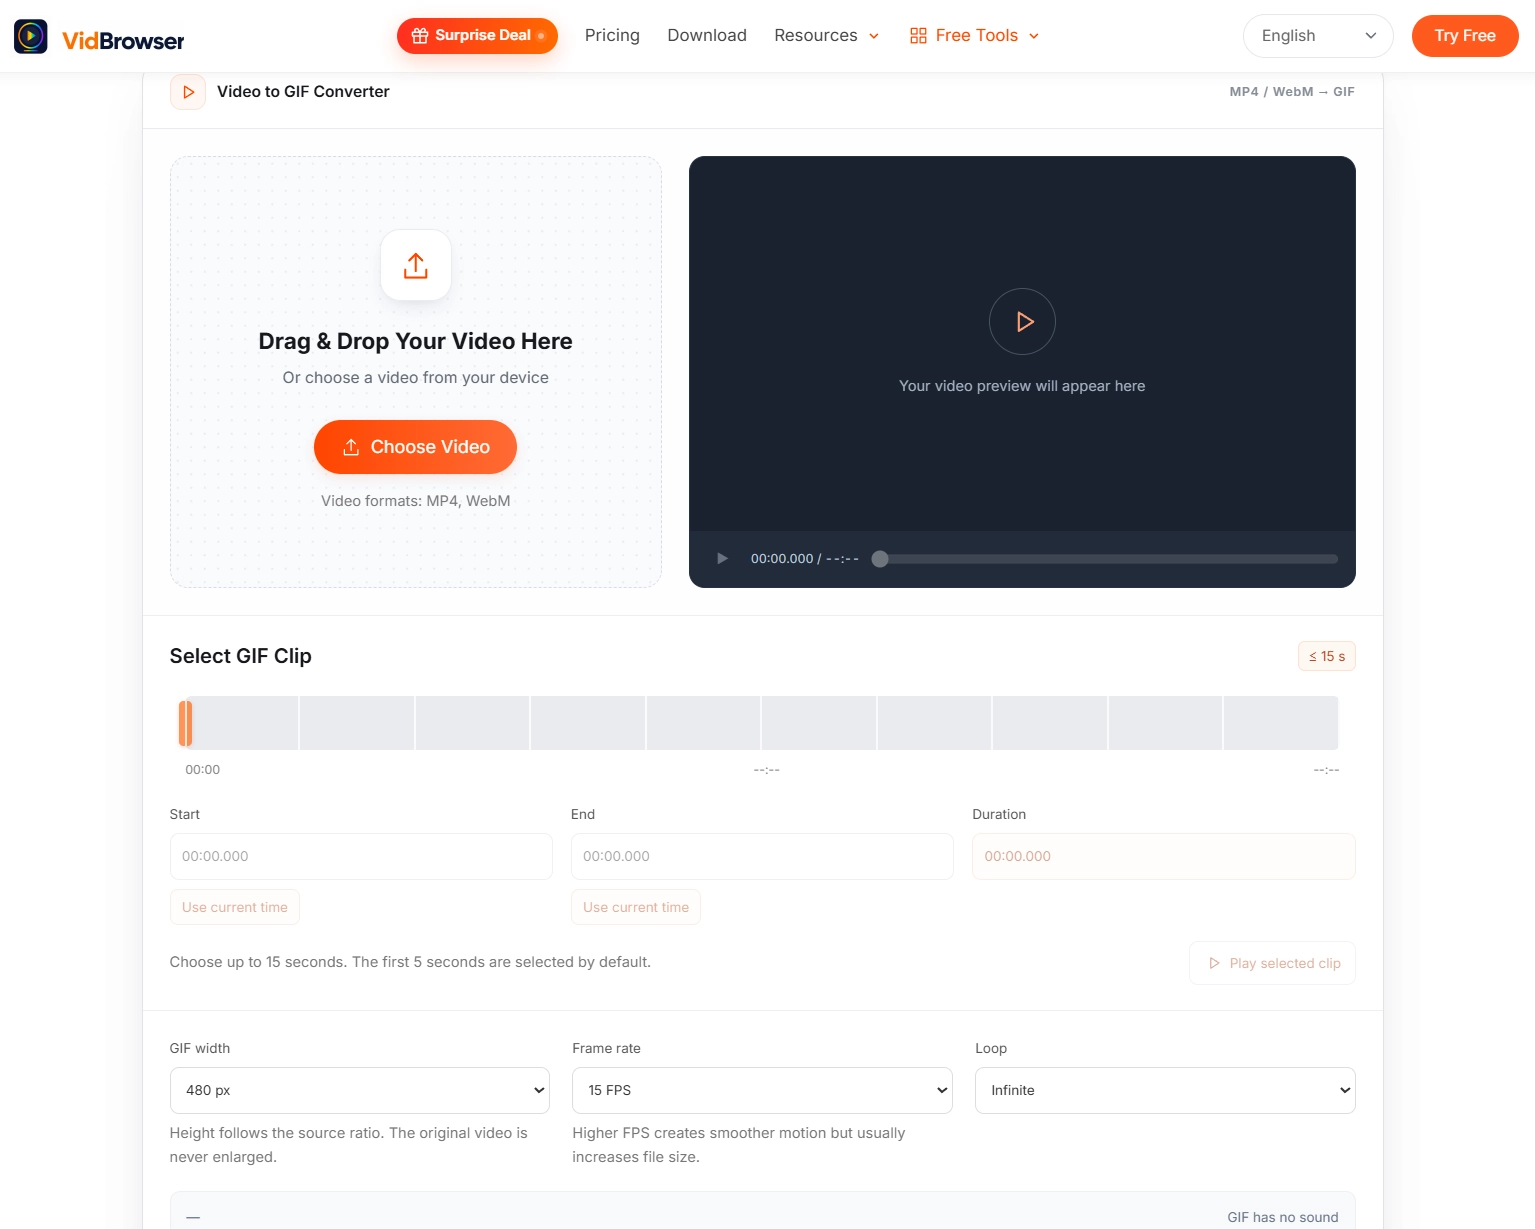
Set the start and end times for the frames you want; a single pass is capped at 15 seconds and the tool defaults to 5 — the easiest cut in the whole size budget, so trim here first.
Step 3: Set the parameters
Start width at 480 px; height scales with it and cannot be set alone. Frame rate at 10 or 15 FPS; loop count defaults to infinite and can be changed as needed.
Step 4: Preview, generate and download
Preview first, then generate and download to your device; if the file is still too big, go back to the trimming step or drop the width one notch. To pull single frames out of a GIF as images, the on-site GIF frame extractor splits an animated GIF into PNG or JPG.
Wrapping Up
The budget fits on three lines: duration under 15 seconds, width from 480 px, frame rate starting at 10 or 15 FPS — cut duration first, then set width, adjust frame rate last. Content with sound or past a dozen seconds stays MP4. When the segment is not in hand yet, VidBrowser handles download, recording and trimming, the GIF is built on the official tool page locally, and the whole line runs in one workflow.
FAQ
What frame rate should a GIF use?
Start at 10 or 15 FPS. Ordinary conversation and slow scenes are fine; raise it only for fast action, and remember doubling the frame rate doubles the file.
Why does my GIF have no sound?
The GIF format has no audio track — a rule of the format, not a missing feature. Keep anything that needs sound as MP4; the moving images on X carry sound because the file is really MP4.
The GIF came out too large — what now?
Pull the three settings back in order: cut duration first, then width (320 px usually serves chat), frame rate last. Preview after every cut and stop when it is good enough.